In this tutorial we will introduce a very useful and popular tool called Postman to test our previous created REST API using Spring Framework.
What do we create?
A REST API is a way for different computer systems to communicate with each other over the internet using HTTP protocol and applying the same set of predefined communication rules with the same data format (usually JSON).
Postmanis a popular API testing and development tool that helps developers interact with RESTful APIs. It is widely used for testing, debugging, and automating API calls.
Postman allows you to send HTTP requests (GET, POST, PUT, DELETE, etc.) to APIs and analyze their responses. This is particularly helpful for testing REST endpoints without needing to build a front-end or write custom testing scripts.
You can configure request headers, body, query parameters, and authentication mechanisms, which is useful when testing APIs that require specific configurations.
How do we create it?
First, we need to download and install Postman. You also have the option to use Postman on the web, without any additional installations. For both options you need to create a free account.
When the account is created, you can create a new collection. A collection is a set of requests which we will define for our Lemonade API.
The next step is to start your already created application with the bootRun command. When the server starts, the logs should look like in the following image:
In our newly created collection, we need to add the following requests to test our CRUD operations:
POST: localhost:8080/api/lemonades – save a lemonade
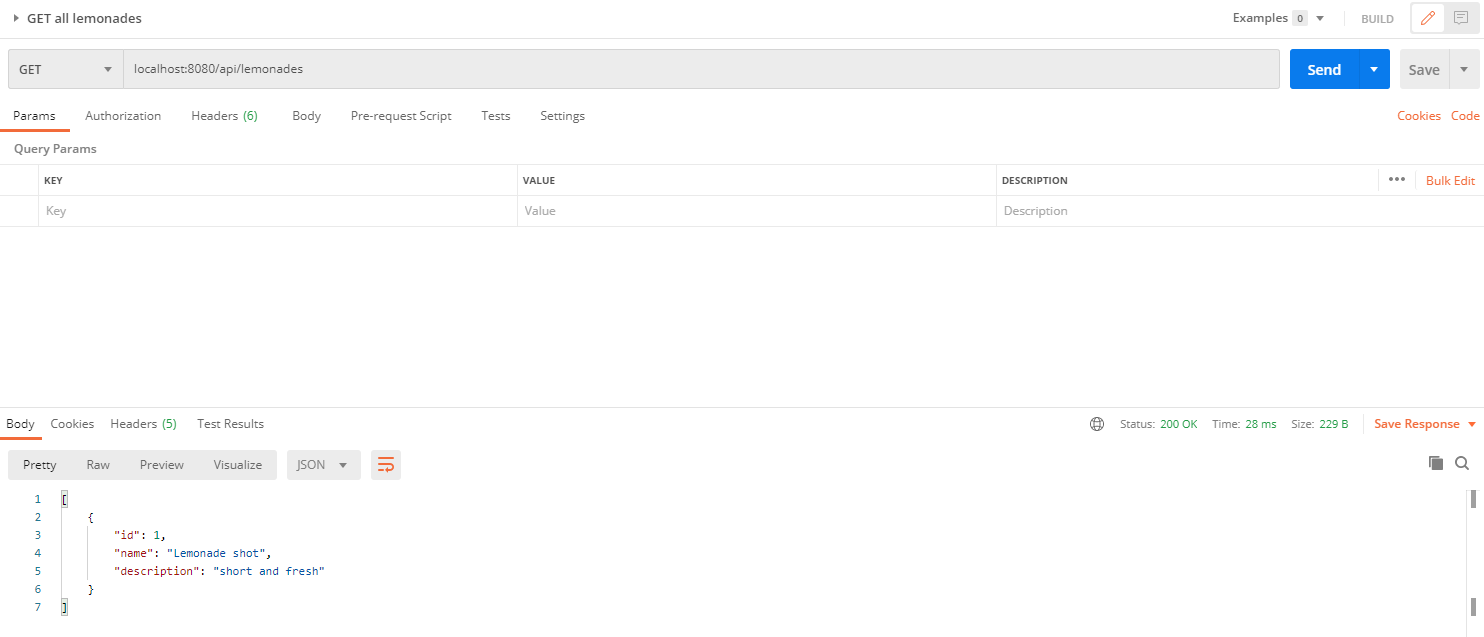
GET: localhost:8080/api/lemonades – get all lemonades
GET localhost:8080/api/lemonades/{id} – get a lemonade
PUT: localhost:8080/api/lemonades/{id} – update a lemonade
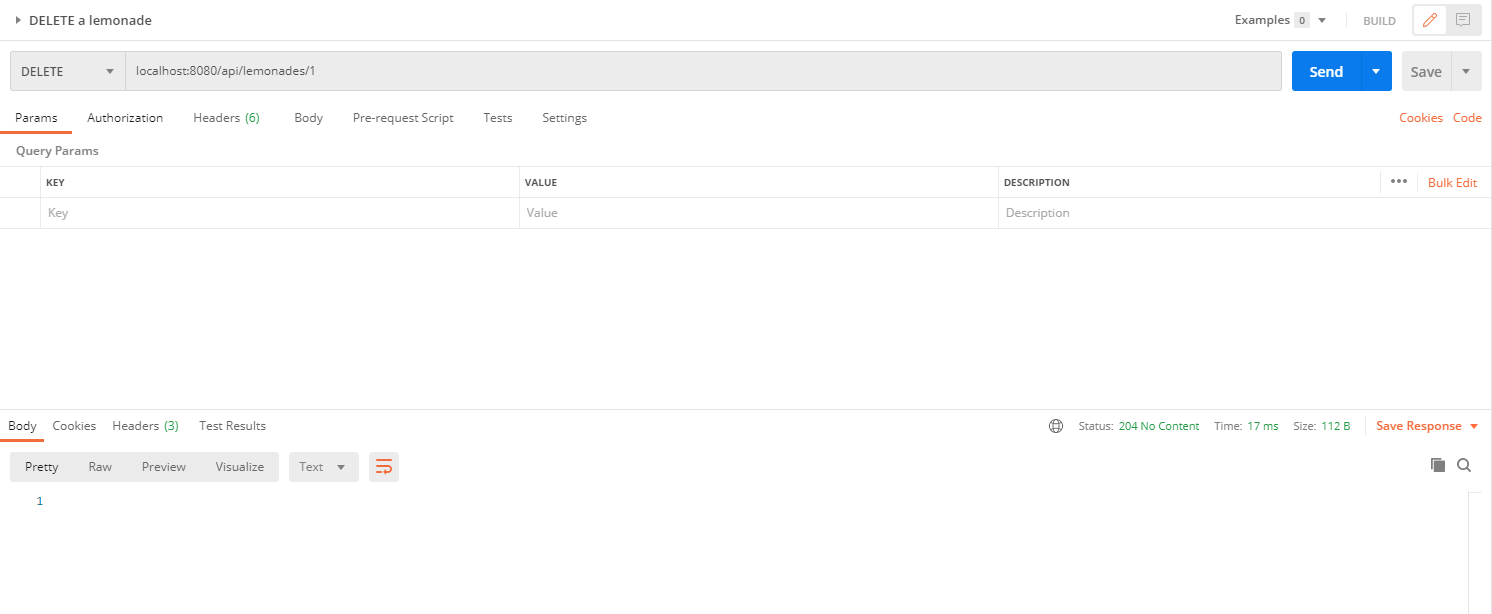
DELETE: localhost8080/api/lemonades/{id} – delete a lemonade
For that, we need to right-click on our Lemonade API collection and a request for each operation from above. When we add a request we need configure:
the HTTP method
the endpoint
the body (if required) + the body type (JSON)
In order to save a lemonade, we need to create a POST request for the endpoint localhost:8080/api/lemonades. Also, we need to define the body with all the fields (the id field should be auto generated, but for simplicity we ignored this), in a JSON format. When we send the request, we will receive the created entity in the response.
To check if the saving method works, we can add the GET requests. This time we don’t have a body and the response will contain the created lemonade.
To update a lemonade, we need to send the entire body with the new fields and we need to specify in the endpoint the id of the lemonade we want to update.
In order to delete a lemonade, we should add a DELETE request and we need to specify in the endpoint which lemonade we want to delete.
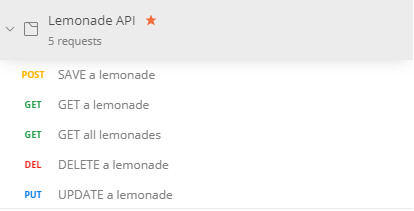
At the end, our collection should have the following requests:
Conclusion
In this tutorial, we introduced Postman, a highly useful tool for testing REST APIs. Postman provides detailed logs of requests and responses, including status codes, response times, and headers, which assist in debugging API issues. It supports scripting for automated workflows, mock servers, environment management, and many other features that are definitely worth exploring further.